Change the scooter brake fluid: 3 steps guide after verification
Maintaining your two-wheeled machine is like pampering a loyal travel companion. For those of us who feel like modern knights on our scooters, we know how vital brake fluid is. So, when it comes to ensuring its good condition, checking its color and level is a mission we do not take lightly. Ensuring everything is in order for our safety is essential.
Preventive inspection: more than a necessity
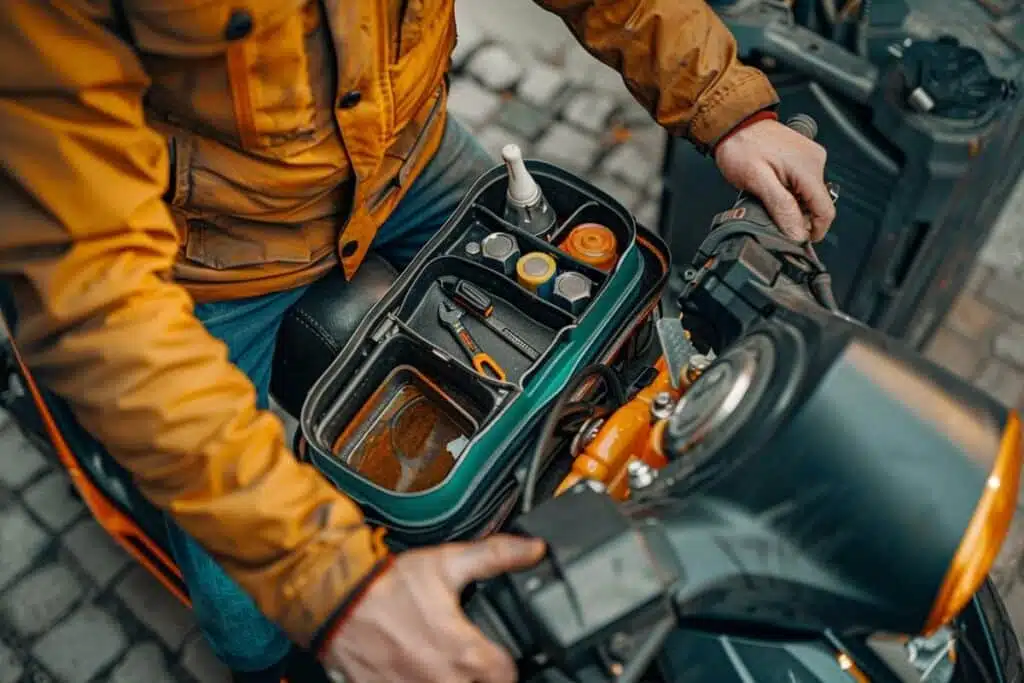
I remember the first time I faced this task. I wasn’t exactly the most skilled in mechanics. But it’s about our safety, isn’t it? Regularly inspecting the brake fluid in your scooter from every angle is like a medical check-up. Take a look at the reservoirs near the brake levers. If, unfortunately, the fluid looks as low as a Sunday without a ride, it’s time to get to work.
First, choose the recommended fluid from your motorcycle maintenance manual. A turn of the key to open the brake reservoir, and you’re ready to top up the level without spilling it. Attention, spills are as dangerous as an oil patch on a tight curve. Remember, this fluid is not kind to paint due to its highly corrosive nature.
When to replace the brake fluid?
To simplify: if your brake fluid turns black, like after a long ride under the sun, it’s time to consider a replacement. The same goes if braking starts to feel weak. Generally, I follow the rule of every 2 years or every 12,000 km. It’s like remembering the anniversary of important meetings, but for your scooter.
This stage can be seen as a sacred ritual to ensure your two-wheeled machine keeps taking you wherever you wish. Used or discolored brake fluid will only compromise your safety, and we know that with motorcycles we don’t have seat belts or airbags.
Changing the brake fluid: a task in 3 steps
Now let’s get serious. I will guide you through this process, step by step, to ensure you can ride with peace of mind.
1. Draining the old fluid
Connect a drain hose to the bleed valve, making sure to direct the other end towards an appropriate container to collect the old fluid. Gently unscrew the valve and squeeze the brake lever to expel the fluid. Friend’s tip: keep an eye on the reservoir during the operation to prevent air from entering the system.
2. Refilling and renewing
Once the bleed valve is closed, pour new brake fluid directly into the reservoir. Then, repeat the operation 2 or 3 times to ensure the system is well-purged of old fluid. It may be repetitive, I admit, but it’s necessary to ensure the quality of your braking.
3. Activating the new fluid
With the fluid replaced, make sure the bleed valve is tightly closed before pumping the brake lever several times. Hold the lever and quickly open/close the valve to let out the excess fluid. You should feel the lever regain its firmness. Finally, clean and carefully close the reservoir.
Constant vigilance: detecting problems
If you notice that your brake fluid level drops alarmingly or very frequently, stay alert. It could indicate a leak in the braking system or wear on the pads. In that case, instead of risking it, it’s better to consult a professional. After all, our passion for motorcycles shouldn’t prevent us from being cautious, right?
| Step | Action |
|---|---|
| 1 | Drain the old fluid |
| 2 | Fill with new fluid and purge |
| 3 | Activate the system and test |
Now that you have all the keys in your hands, I’m sure you will know how to take care of your loyal companion. Whether you are a mechanic expert or an enthusiastic novice, getting involved in the maintenance of your scooter is one more step towards autonomy and safety. Let’s go, and may the road be in your favor!